Plant Chat: Thanksgiving cactus blossoms + planting rooted cuttings
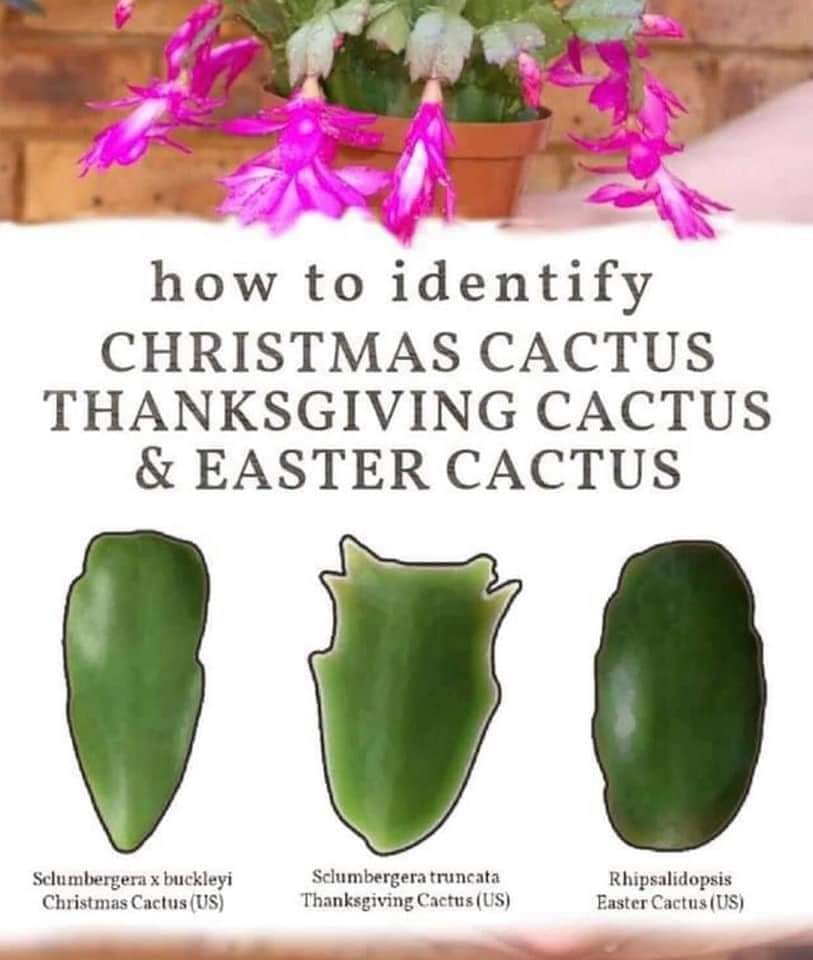
My Thanksgiving cactus is blooming! I’ve had it for two or three years and this is the first year I’ve gotten it to rebloom.
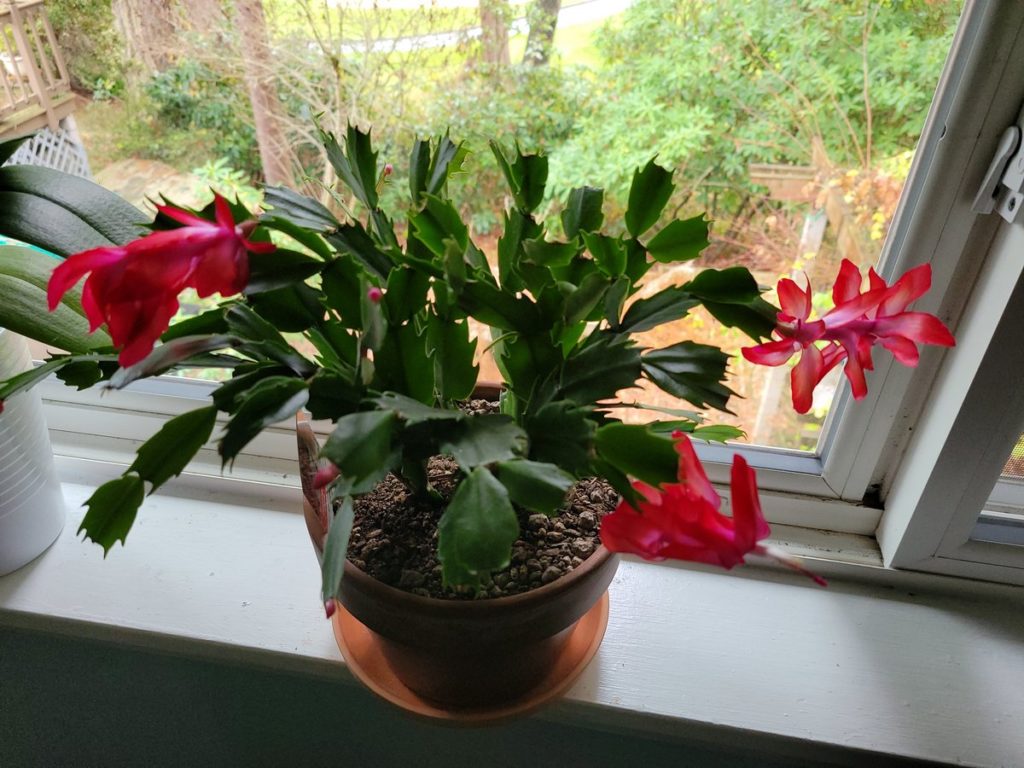
Three big beautiful blooms! I’ve kept it in an east-facing window this year and about two months ago started putting it in a completely dark, cool closet at night. (Last year I had it in a west-facing window and buds developed, then fell off.) Putting it in the closet is kind of a pain, and I’m worried that brushing it constantly against things is going to knock all the buds off, so I may end up putting it in a box with a lid at night instead.
Honestly, I’m unsure whether the blooms this year have more to do with the dark nights than just being in a cool east-facing window, though the former is what the internet recommends. The real-world care people are giving these beasties is all over the map. In the plant groups I hang out in, some people are getting great blooms out of no special care at all, some are doing light-dark cycles like me and some have cacti of such immensity and age that there’s no way you could stick one in the closet at night. I’m also seeing Seattle-area folks say that our gloom here is enough to get the plants to bloom without specially-induced darkness, as long as they’re in a room without lights on at night. I don’t have a good place to put it where it would get any light AND not have room lights on at night, so I’ll keep trying to put it in darkness at night.
I have lost a few buds, and the buds that weren’t particularly developed at the point where Seattle winter gloom set in don’t really seem to be developing any further, so it’ll be interesting to see whether I get any more blooms, or just the three. If the latter, it may be due to having so little light at this time of year that the buds can’t develop further. Something to keep in mind when I do grow light setups next year.
The most bountiful blooms I’ve seen so far were from someone who keeps their Thanksgiving cacti in a turtle enclosure where it gets bright light and close to 90 F during the day, then total darkness and around 60 F at night. That’s a bit hard to replicate without a specialized setup, but it’s good to know.
I’ll repot it for sure when it’s done blooming: Since it’s a cactus I repotted it last summer into cactus mix, but since learned that it’s actually a tropical cactus from the coastal rainforests of Brazil and needs a potting mix that’s closer to a standard tropical mix. It also needs more water than a succulent or desert cactus.
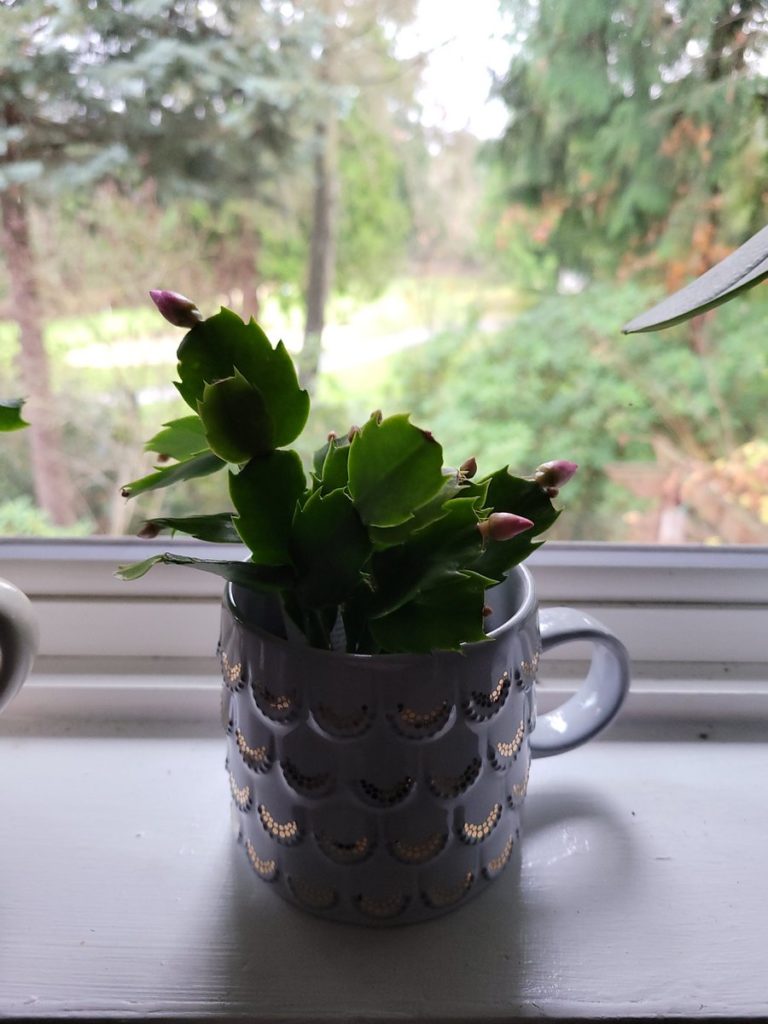
I also picked up a couple of babies for $4.00 each at Kent East Hill Nursery the last time I was there. One looks like it’ll have white blooms, and I’m hoping the other is a lighter pink than my big one. They’re planted in their nursery pots that are just resting down inside the coffee mugs, so I can pull them out for watering and they’re not sitting in water.
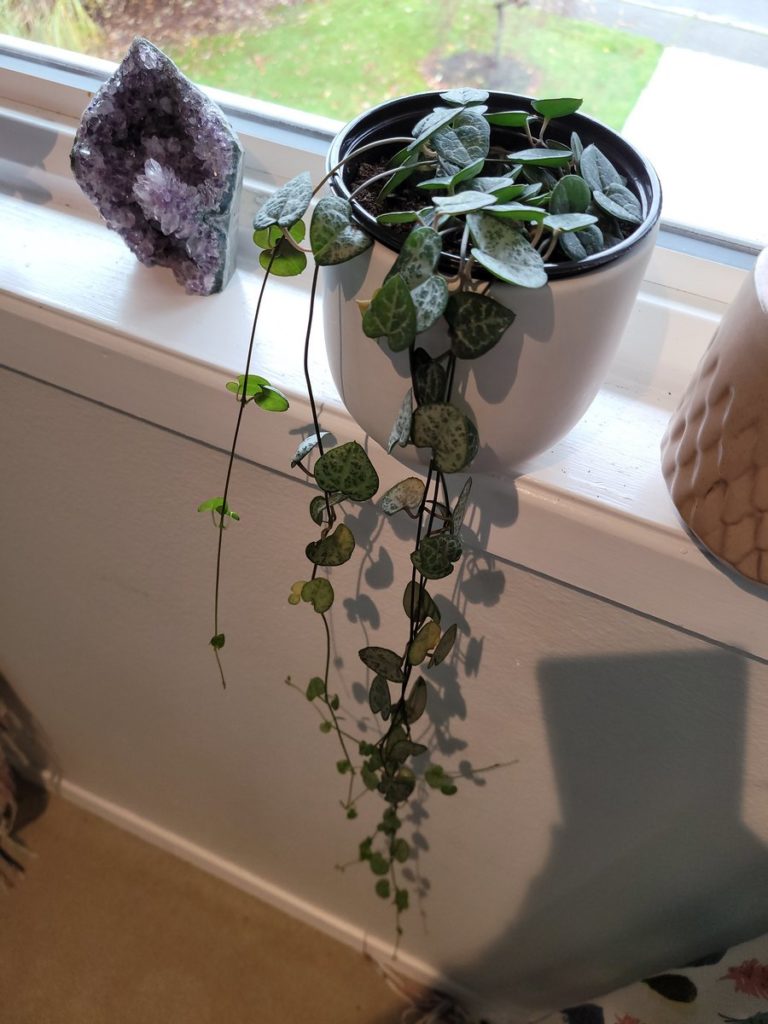
My new string of hearts is looking good, to my relief after what a debacle the last one was. (Its tiny remnant, one small stem, is sitting in water and hopefully propagating.) That string to the left was half as long when I first got it a month ago, so this southwestern windowsill must be getting it enough light to keep happily doing its thing.
I’ve been using the taco test to see if it needs watering: gently squeezing the leaves to see if they fold up like a taco. They did eventually fold, so I very cautiously bottom watered and, when that didn’t see to be absorbing all the way through the soil, even more cautiously top watered a bit. Here’s hoping that wasn’t too much.
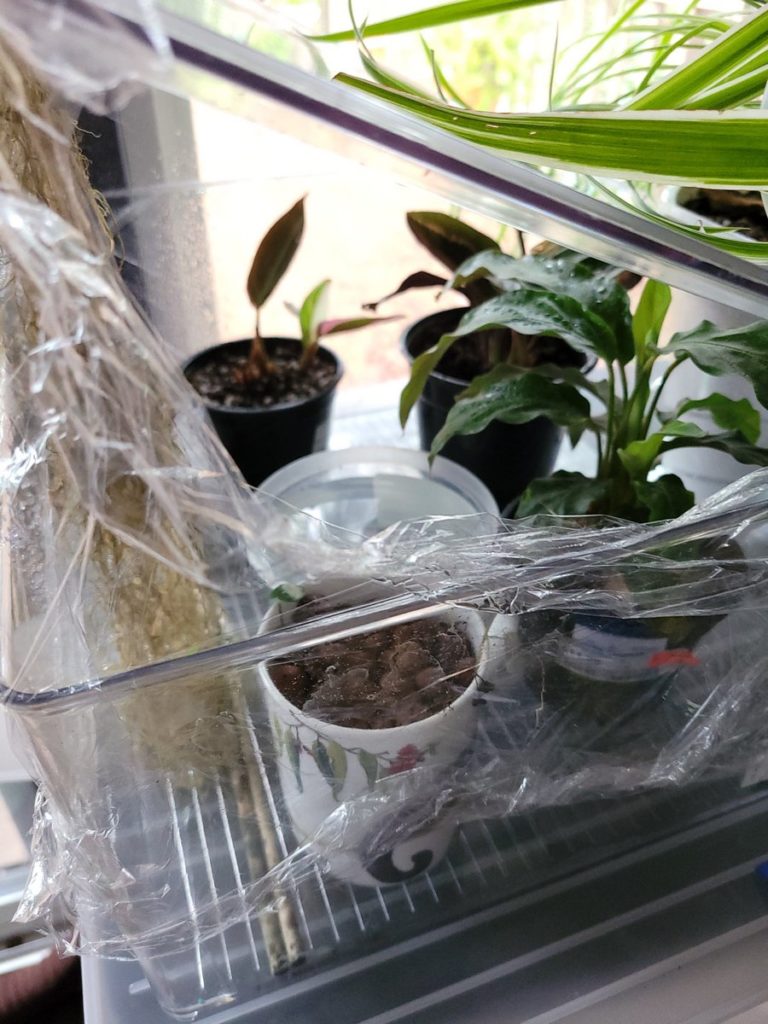

I’ve now had enough time with my current little “humidity cabinet” setup to see whether it works, and it does, quite well. It’s not as consistent in humidity level as a real setup (like the Ikea glass and metal cabinets that are popular right now), but for a plastic sweater box, plastic wrap and chopsticks it does quite well.
I’ve been keeping my training-wheel calatheas, bought on clearance, and my highland and lowland beard lichens in it, plus a couple of random cuttings of peperomia ruby cascade to see if they’d propagate well in the high humidity.
So far, I’ve learned:
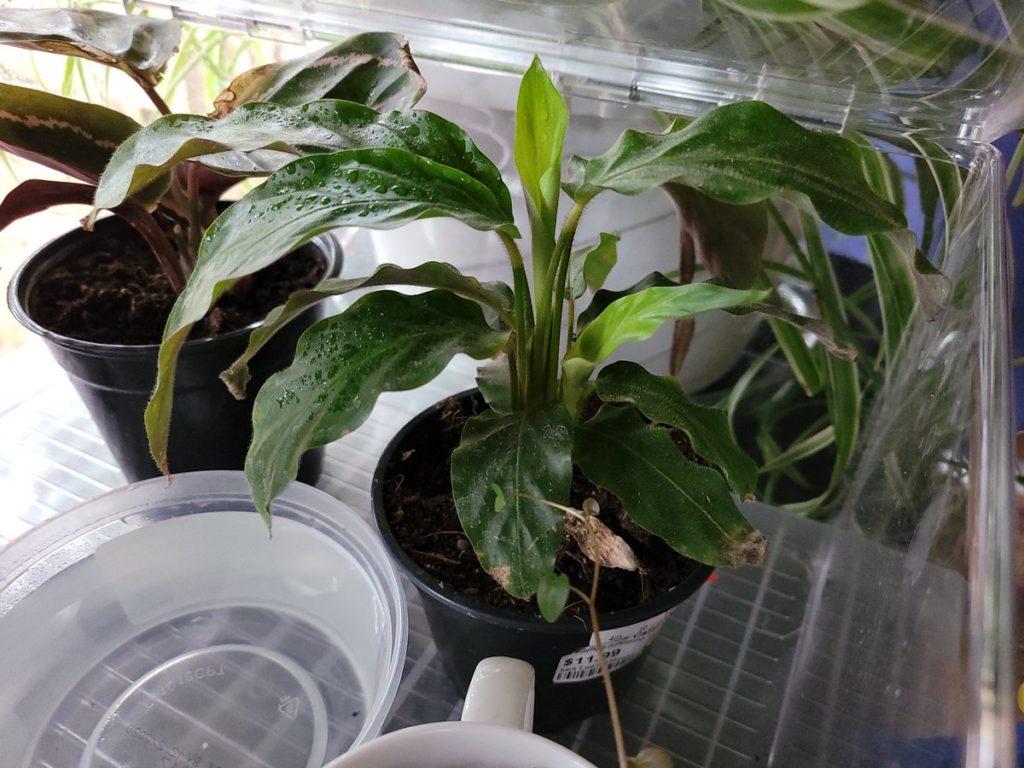
- This is a good environment for the beard lichens, more or less. I’ve got them clipped to the edge of the lid, inside the plastic wrap, with Christmas ornament hangers. Both are slowly migrating to the bottom of the box via pieces breaking off and the whole thing just sort of slumping over time. I’m guessing that’s just how they are naturally. Now that I have so many other plants to play with, I might throw my hands up, put these out in the yard for the winter and see how they do. They’re just so fragile any time they dry out the slightest bit, though the one I collected from sea level seems significantly less fragile than the alpine version (at right), which gets brittle and breaks if you even breathe on it gently.
- The calatheas love it as long as there’s a bit of airflow. The triostar’s bigger leaves did get a little too wet for too long and got mushy and had to be clipped off, but that’s okay, it’s a learning experience.
- When you put bamboo chopsticks in a box and spritz them with water often, they mold. Oops. Need to find a replacement.
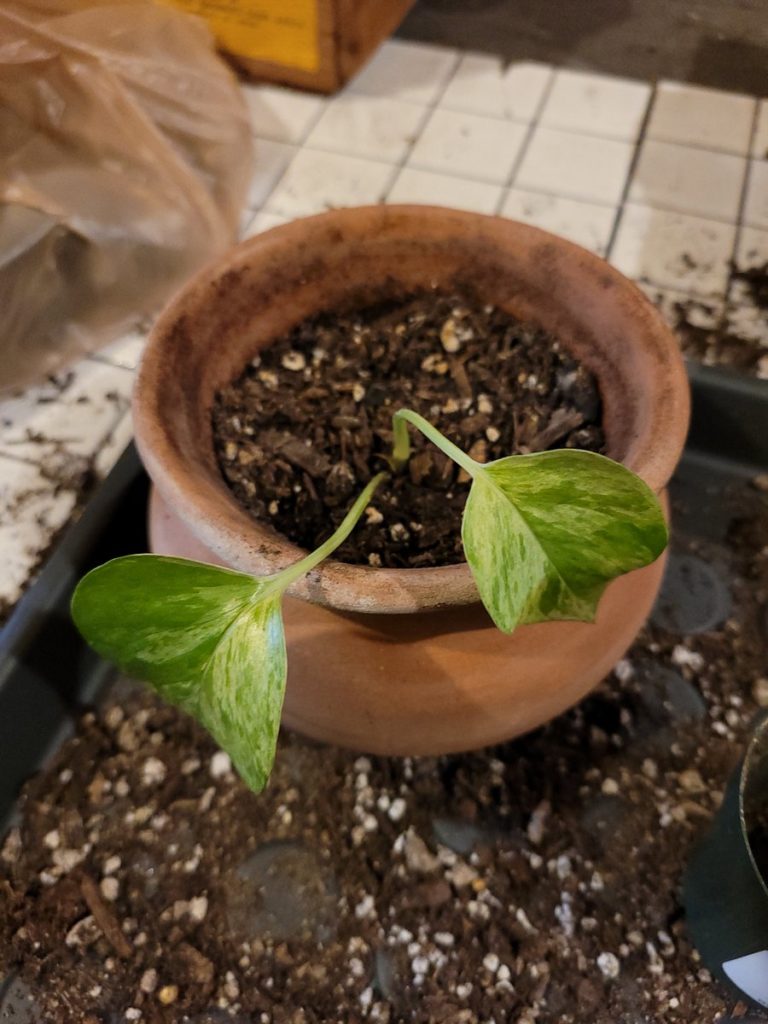
Speaking of learning experiences, this marble queen pothos went back into leca today for another attempt at rooting. I’m now following the two-inch propagation rule and letting roots get to two inches before I try to move them to soil, but I potted this cutting from a friend before I learned either that rule or that plants really don’t like pots that are way bigger than their roots (because the soil gets wet and just sits there depriving them of oxygen, and also when they’re in the ground in nature there are generally things growing all around them).
When I pulled this one back out of the soil, the root was partly rotted, so fingers crossed another stint in leca will help it survive.
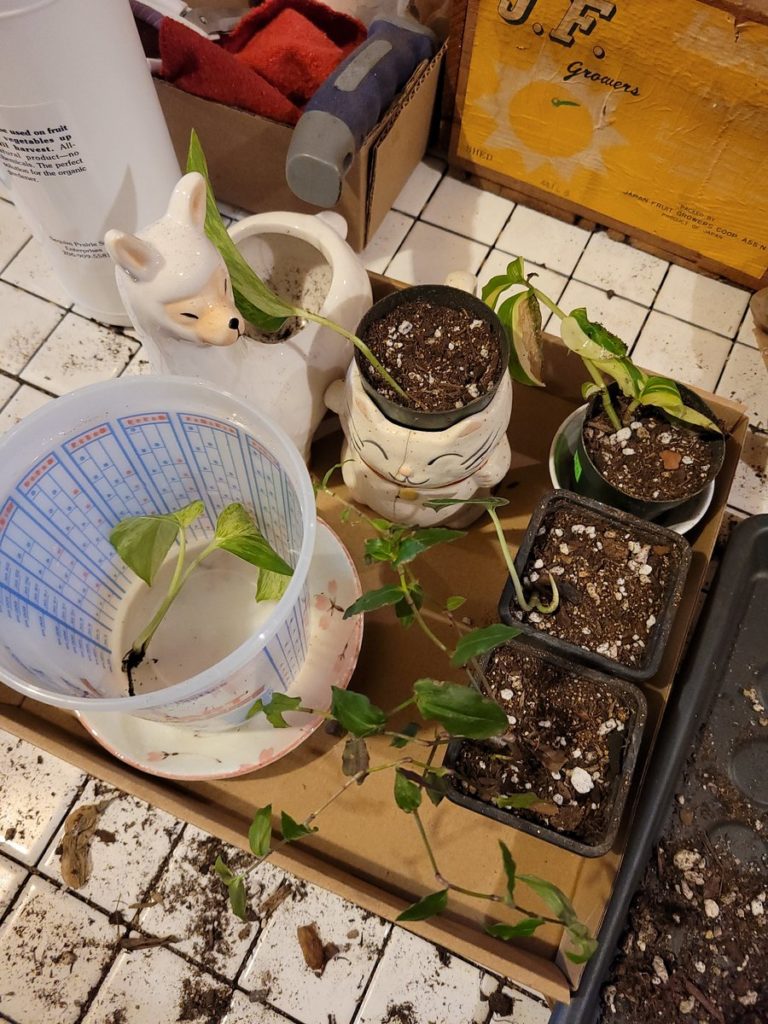
Planting rooted cuttings today. Clockwise from bottom left:
- The marble queen pothos that’s going back into leca
- A cute little llama planter with no drainage of its own that will hold one of the wee nursery pots
- A cracked-but-cute kitty mug holding another marble queen pothos
- The last gasp of a zebrina cream tradescantia I’ve been desperately trying to save since I overwatered it and had to cut it into pieces for propagation, fingers crossed
- Some kind of satin pothos, I’ve lost track of which cuttings are which
- The last gasp of a bridal veil tradescantia, victim of the same thing as the cream
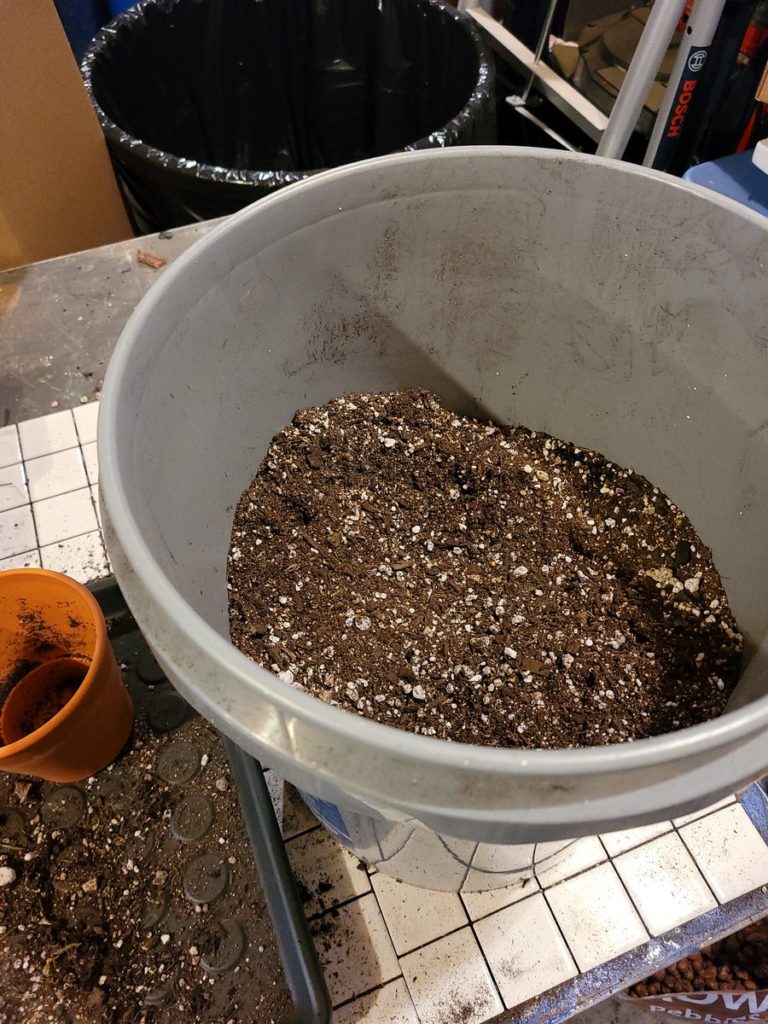
All of the cuttings and repottings these days are getting planted in my new and improved potting soil mix, a blend of Miracle Gro potting soil, charcoal, cactus mix, perlite, vermiculite, orchid bark and worm castings. There are actual recipes out there on the internet but right now I’m just going with what feels right. Since I have such a tendency to overwater, I want the best-draining mix I can manage without using actual cactus mix for everything.
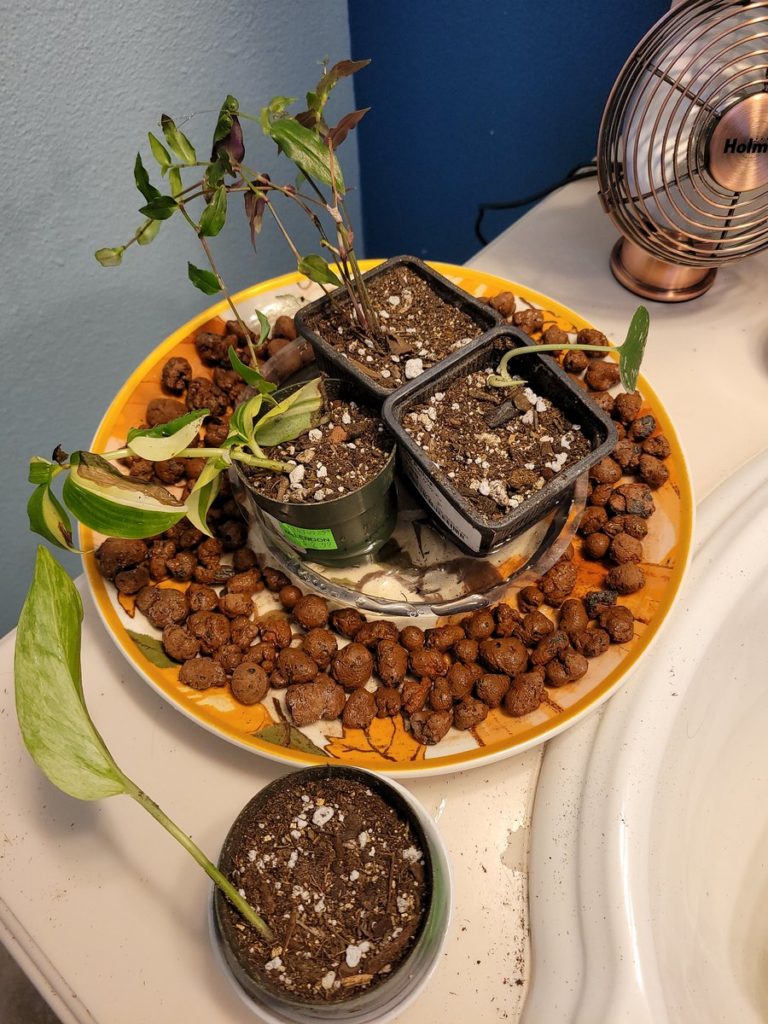
And finally, very carefully bottom watering all the little nursery pots. (The leca clay balls around it on the plate have no particular significance, I had been using that plate as a pebble tray and just haven’t cleaned it up yet.) This summer I was using the “bottom water until you see wet soil at the surface” method, but that seemed to lead to a lot of unhappy plants and soil that would sit wet for a month, so now I’m trying to let each pot get somewhat wet and heavy for its size, then trust that the water will seep through the dry soil (and keep a careful eye on anything starting to droop). Once again: learning process!